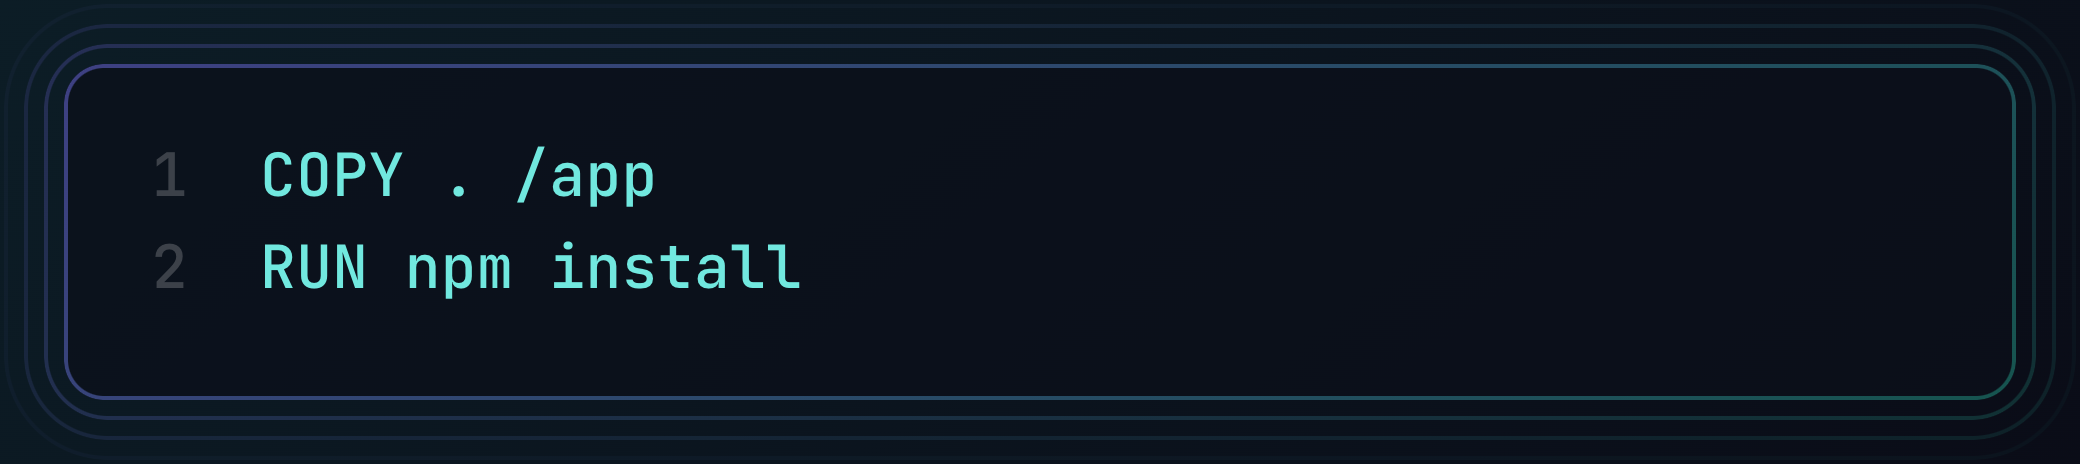
Tired of 1GB Docker Images? Let’s Fix That in 4 Easy Steps
Introduction
Docker is a powerful tool for packaging and deploying applications, but if not optimized properly, Docker images can become bloated, leading to slower builds, longer deployments, and increased storage costs.
I recently came across a LinkedIn post by Angelo Al Yacoub that shared tips on optimizing Docker images for React applications. By applying these best practices, I was able to shrink my image size by 1GB, significantly improving efficiency.
In this post, I’ll walk you through the key techniques that made this possible and how you can apply them to your own projects.
Why Was the Image So Big?
Before optimizing, it’s important to understand what contributes to a large Docker image size:
- Using a full-size base image instead of a lightweight version.
- Inefficient layer usage, leading to unnecessary bloat.
- Copying everything into the image, including files that aren’t needed.
- Not using multi-stage builds, resulting in extra dependencies in the final image.
By addressing these issues, we can drastically reduce image size and improve build times.
The Optimization Techniques That Worked
1️⃣ Use Alpine Instead of Full-Size Base Images
The easiest way to reduce image size is to start with a smaller base image. Alpine-based images are significantly smaller than their standard counterparts.
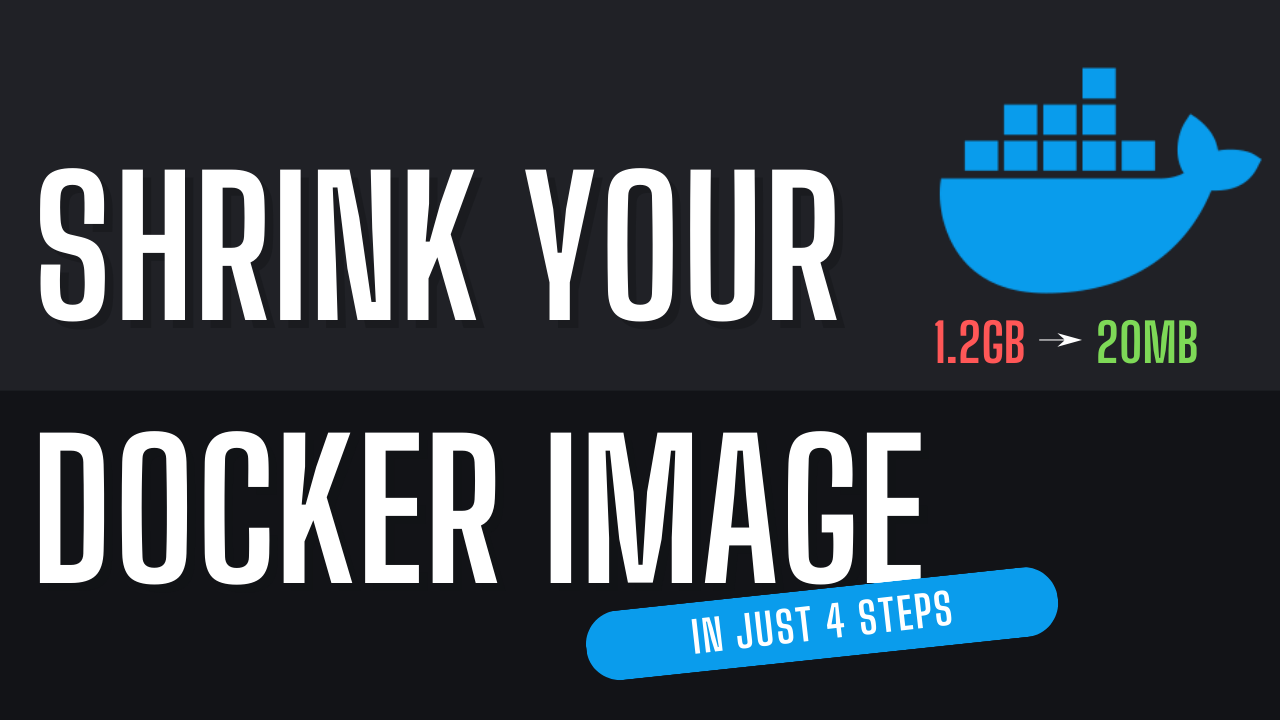
❌ Before:
✅ After:

This simple switch can save hundreds of megabytes instantly! 🚀
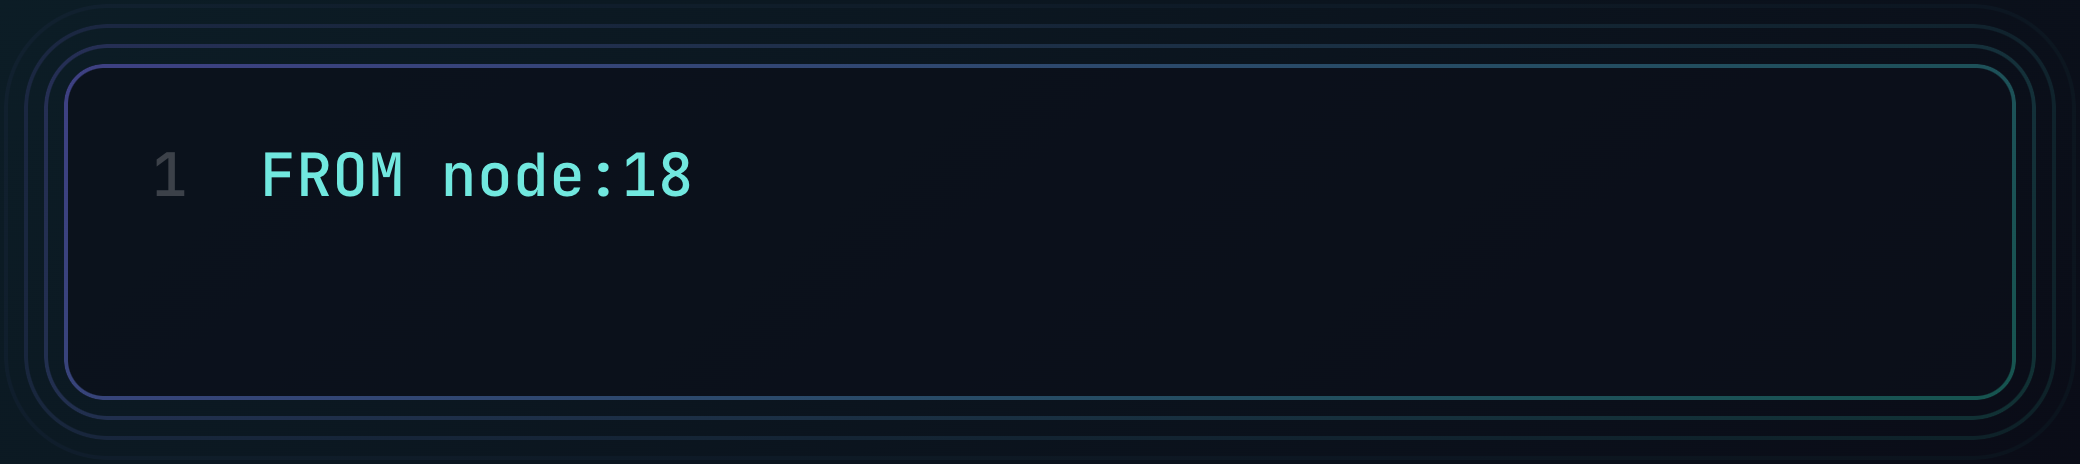
buster-slim instead.2️⃣ Use Multi-Stage Builds
Multi-stage builds help separate the build environment from the final production image, ensuring only necessary files are included.
✅ Optimized Multi-Stage Build:
🔹 Why it works: The final image only contains the compiled static files, without unnecessary dependencies and build tools.
3️⃣ Optimize Layers: Install Dependencies Before Copying Source Code
Docker caches layers to speed up builds, but inefficient layer ordering can cause unnecessary re-installations.
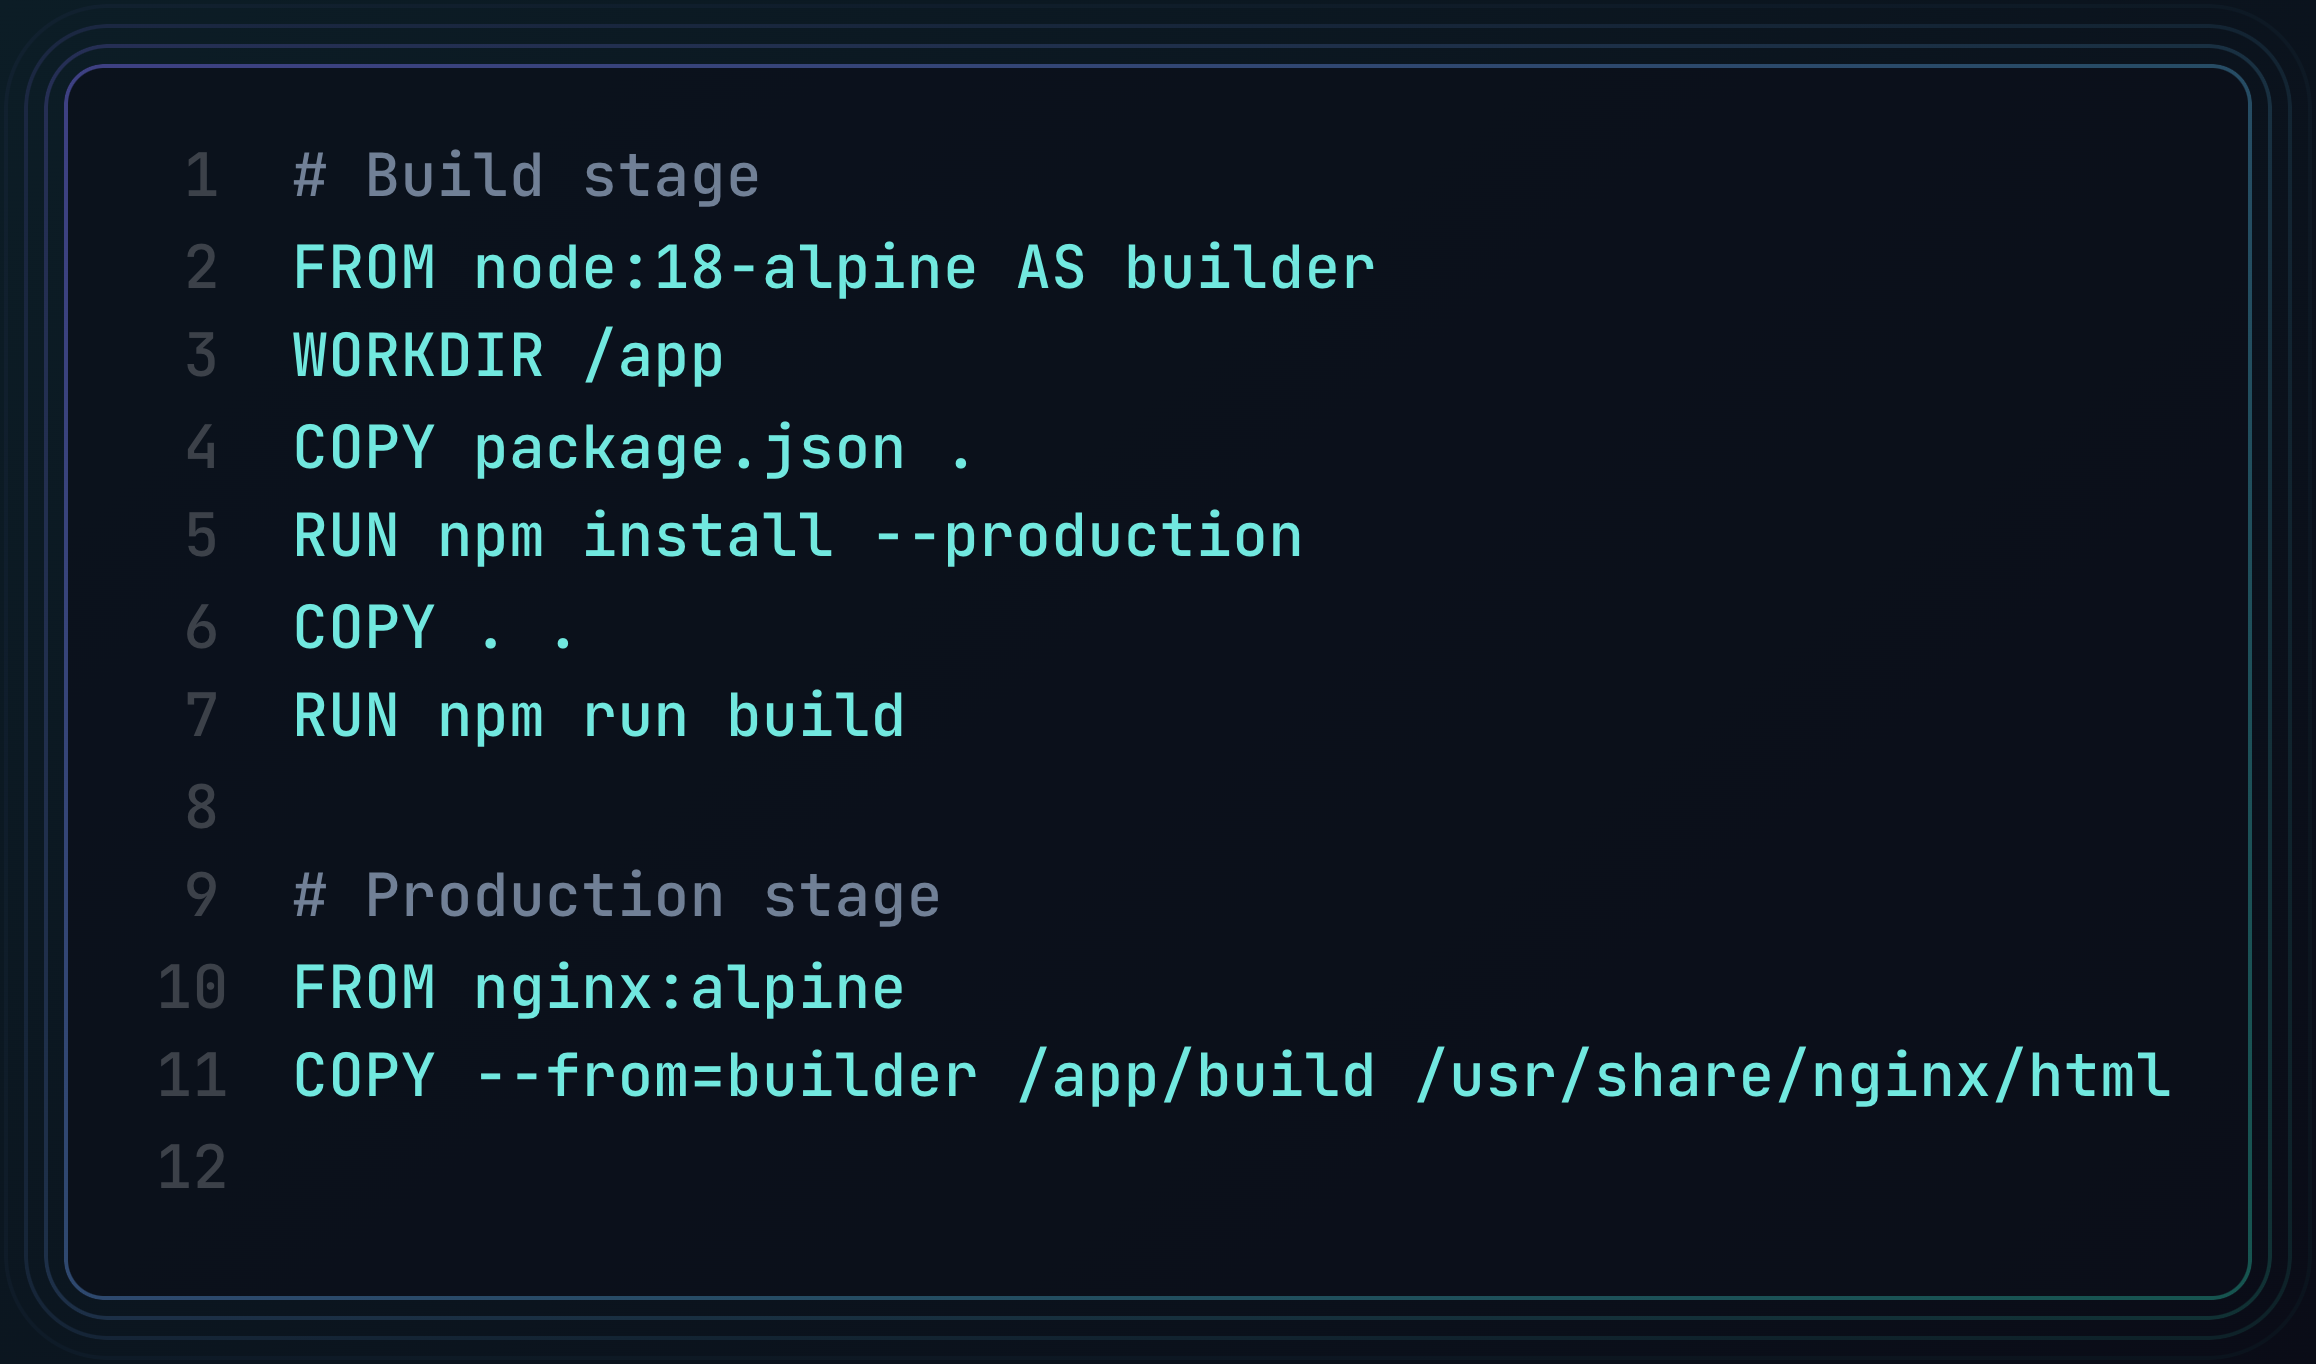
❌ Before:
✅ After:
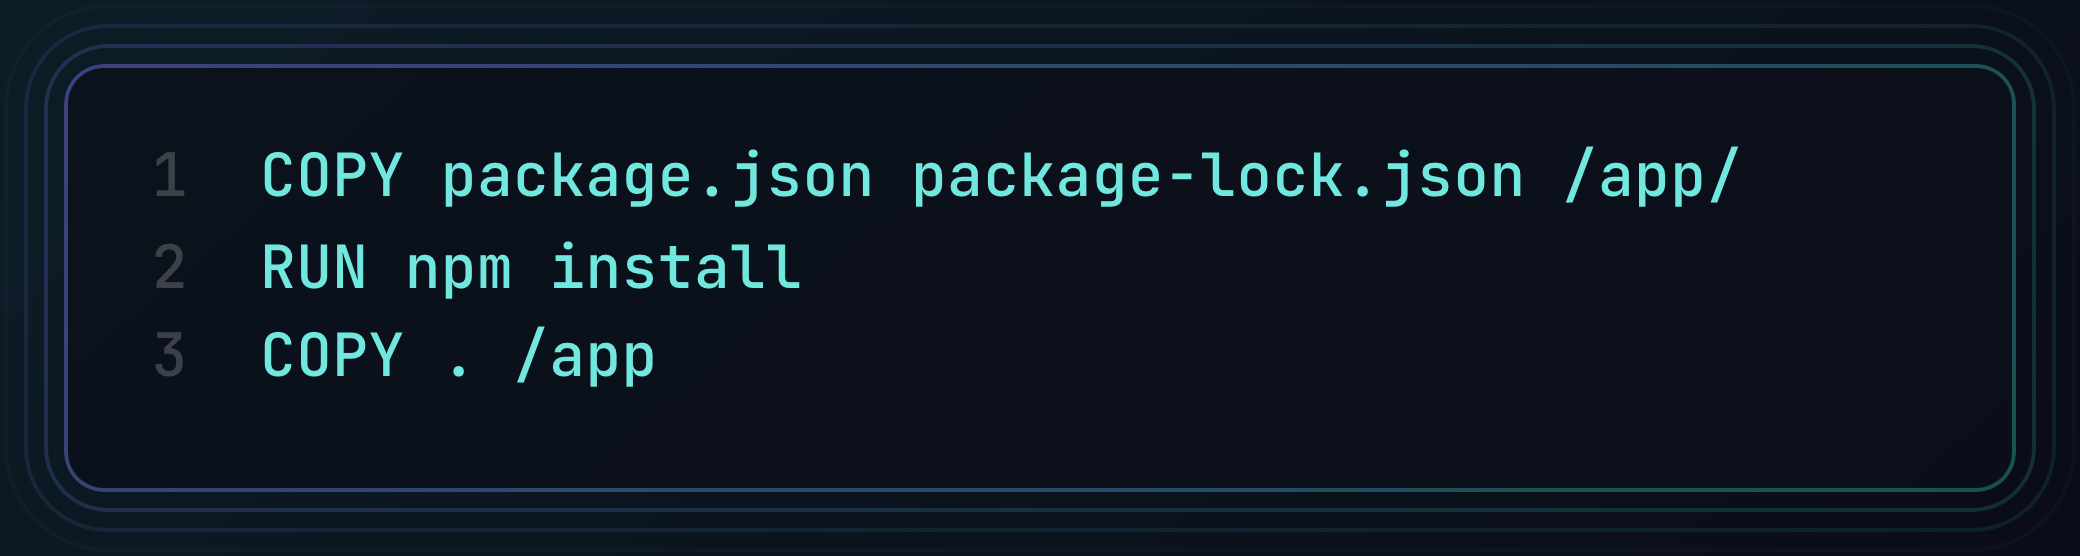
🔹 Why it works: By installing dependencies before copying source code, you avoid triggering unnecessary npm install executions when modifying your app.
4️⃣ Use .dockerignore to Exclude Unnecessary Files
Just like .gitignore, a .dockerignore file prevents unwanted files from being copied into the image.
✅ Example .dockerignore:
node_modules
documentation
scripts
.git
🔹 Why it works: Excluding these files reduces image size and improves build efficiency.
Results & Final Image Size
After applying these optimizations, here’s the difference:
- Before: 1.2GB
- After: 20MB
✅ Build time was also reduced, making deployments faster!
To Go Further
If you want to explore even more ways to optimize Docker images, consider looking into distroless images. These images remove unnecessary system components, reducing attack surface and improving security while keeping the image size minimal.
For more insights, feel free to reach out to Angelo Al Yacoub on LinkedIn, as he shares valuable tips on Docker optimizations.
Conclusion
By following these simple steps, you can drastically reduce your Docker image size, improving performance and efficiency.
🔹 Key takeaways:
- Use Alpine or slim base images.
- Implement multi-stage builds.
- Optimize layer ordering to leverage caching.
- Use
.dockerignoreto skip unnecessary files.
Now it's your turn! How do you optimize your Docker images? Let’s discuss in the comments! 🚀